high quality secure mailbox for your home or business
Weekend Away Vault
Model Number DVJR0060


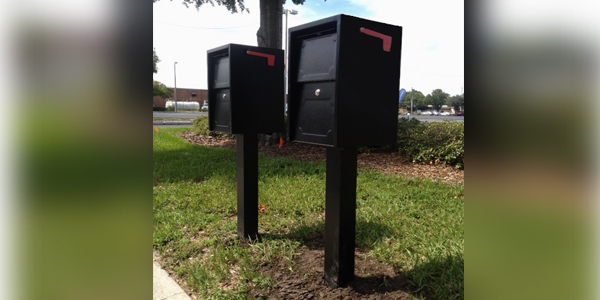
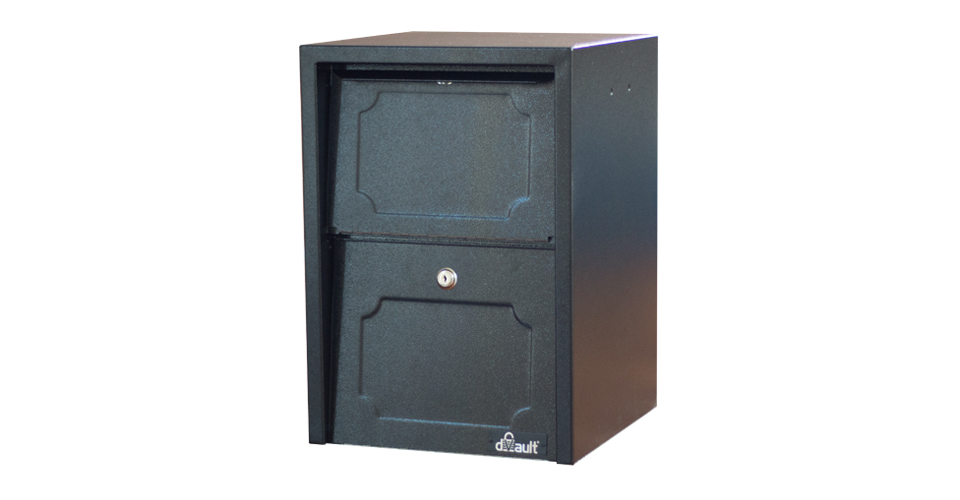

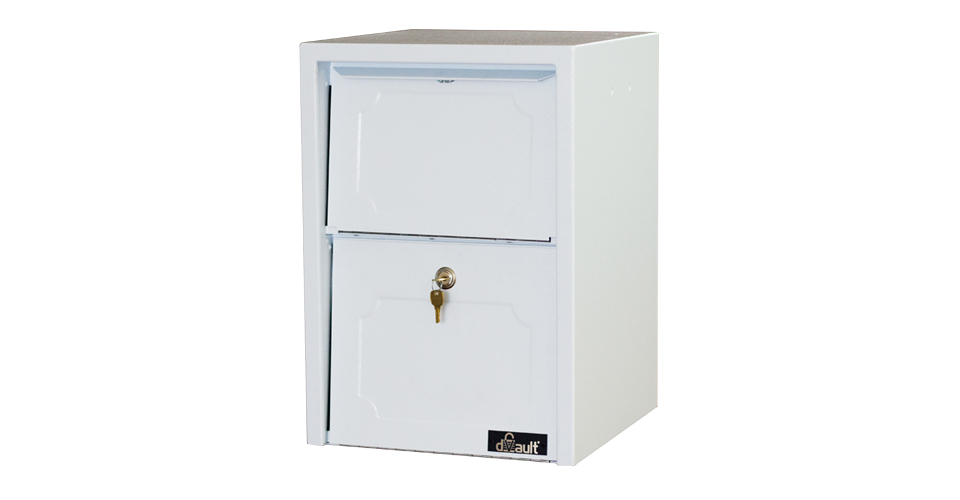


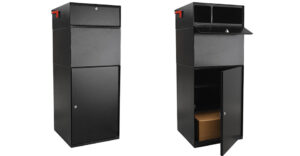
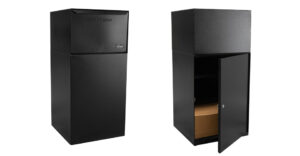
dVault’s Weekend Away Vault is a great solution for homes, apartments, and office buildings seeking a vandal proof mailbox with an elegant and versatile design.
Residential: The Weekend Away Vault is a secure solution for homeowners who may need to receive multiple days worth of mail, catalogs, magazines, or small packages. Five different finishes with matching posts (sold separately) and multiple installation options offer style with flexibility in a nearly vandal-proof mailbox .
Commercial: dVault’s medium-capacity locking mailbox is a great solution for apartments, condos, and office buildings. Its clean design is perfect to accent any style and architecture, and the 16 gauge galvanized steel, and protective powder-coat finish will ensure it retains its appeal over many years.
- Made of 16 gauge galvanized steel.
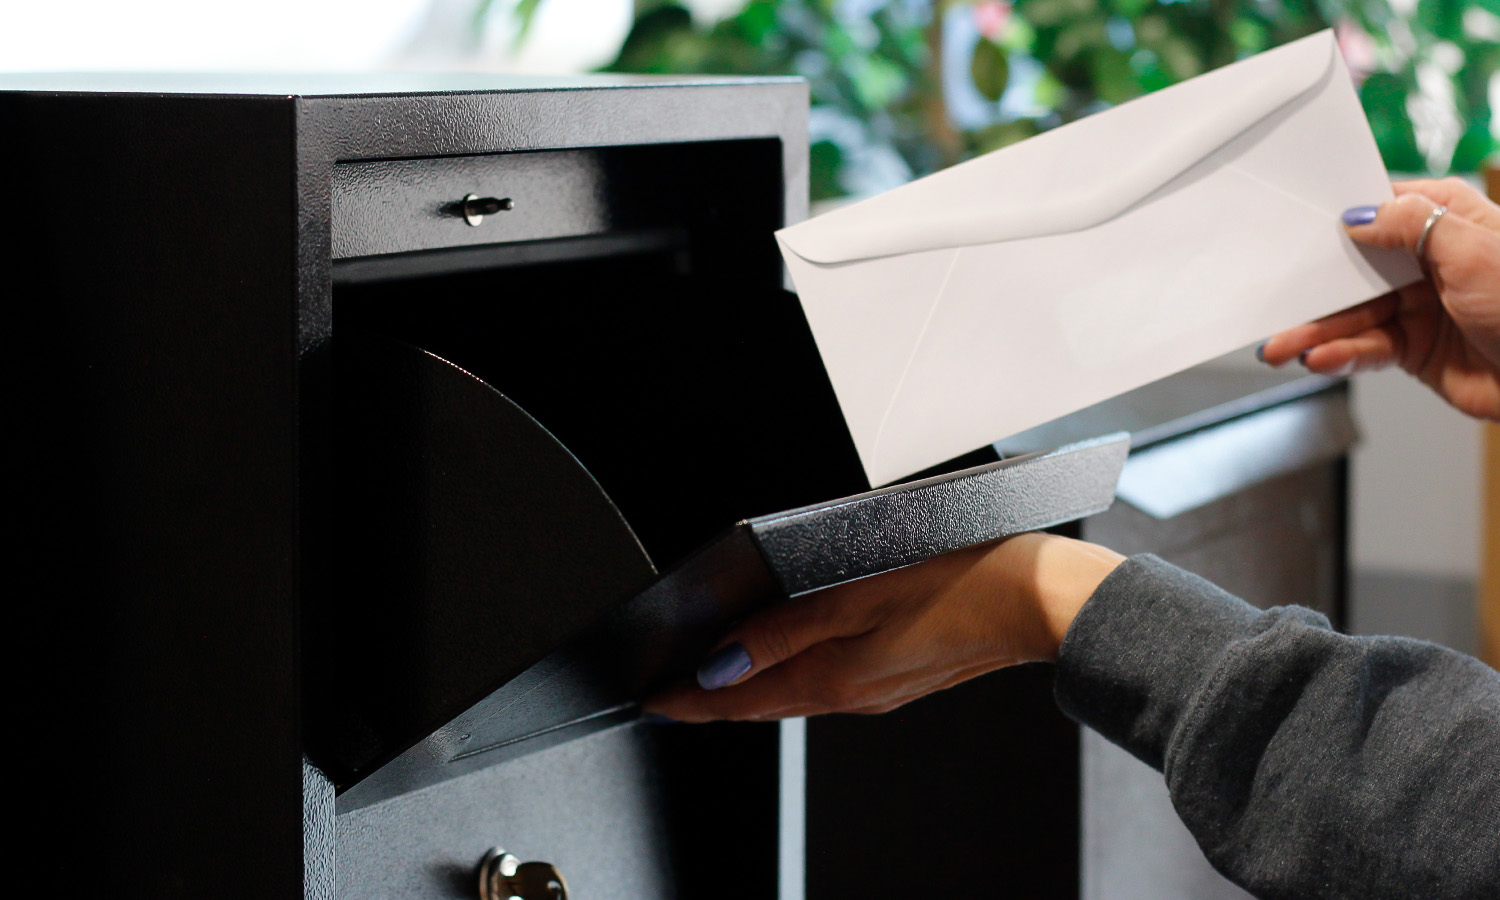
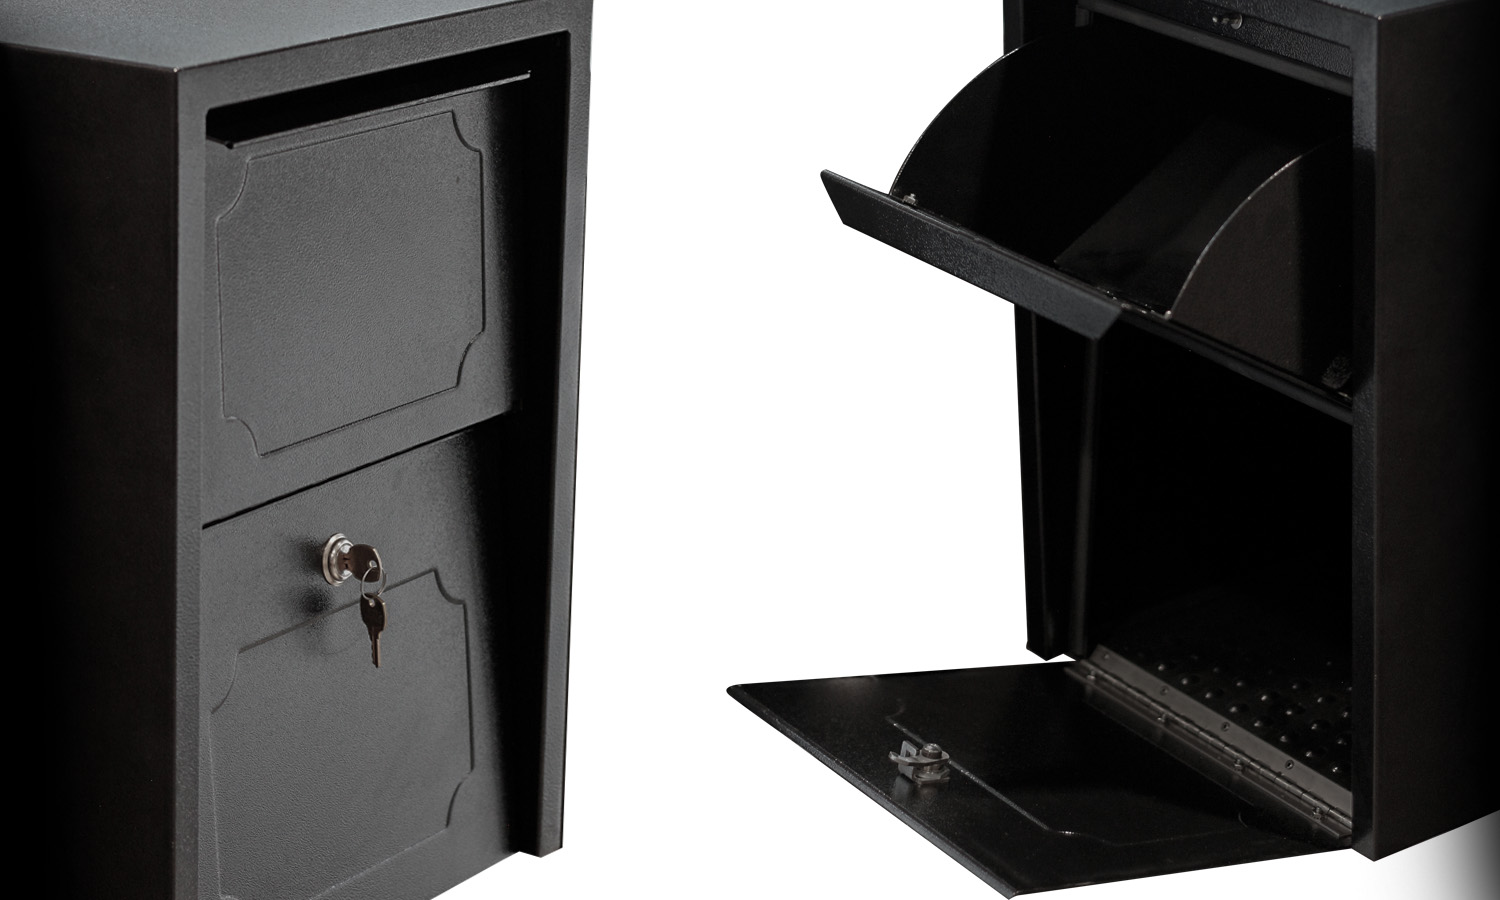
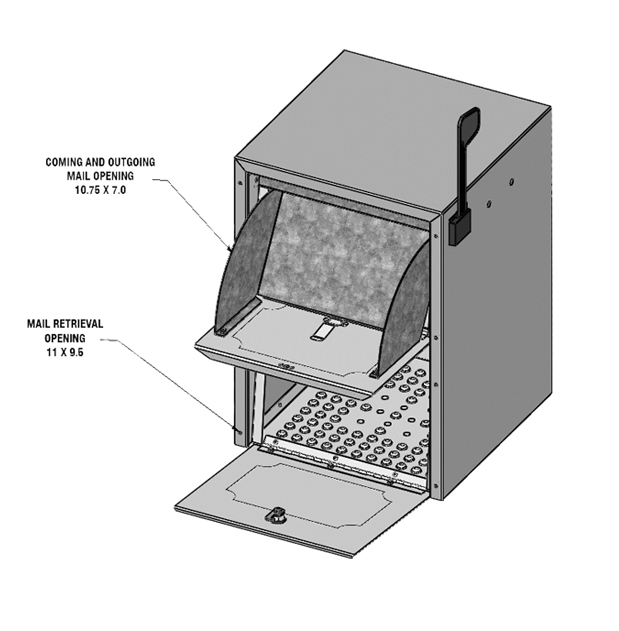
- Locking letterbox secures incoming mail.
- Patented, anti-theft “Teeth” on delivery door deters thieves.
- Mail clip for outgoing mail.
- Commercial grade powder coat finish resists rust.
- Attachable postal flag.
- Stainless steel hinges.
This mailbox is not approved for curbside United States Postal Service delivery. It may be used for door delivery, consistent with your local Postmaster’s requirements. Contact your local Postmaster for details. This mailbox can be used with UPS, FedEx, or other private parcel delivery services.
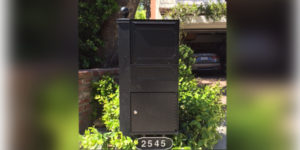
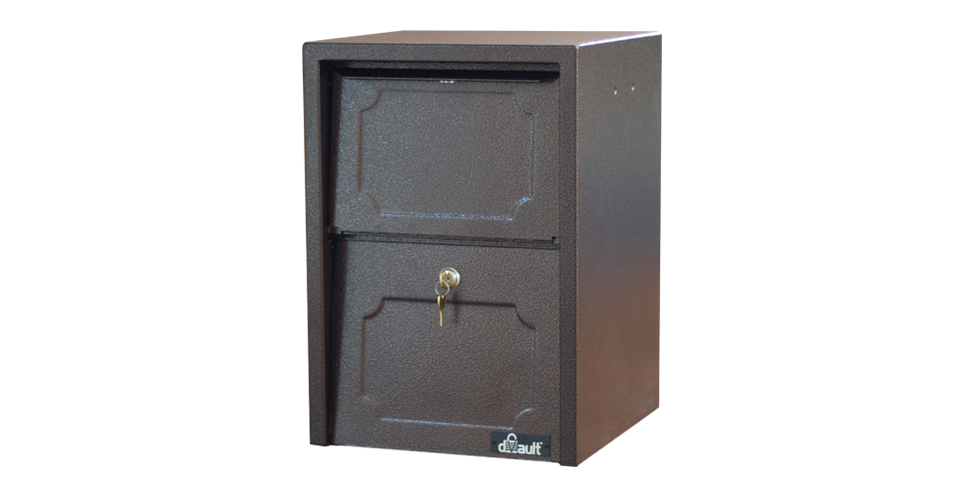
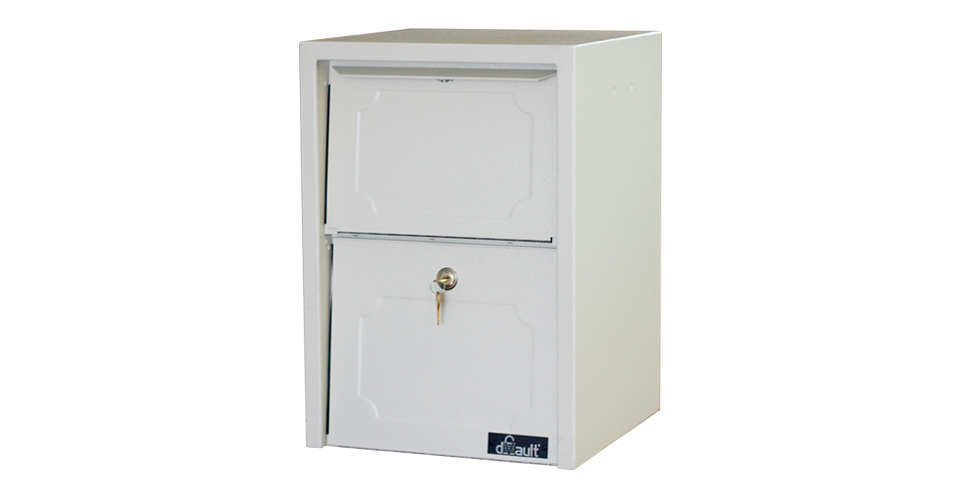
Five Available Colors:
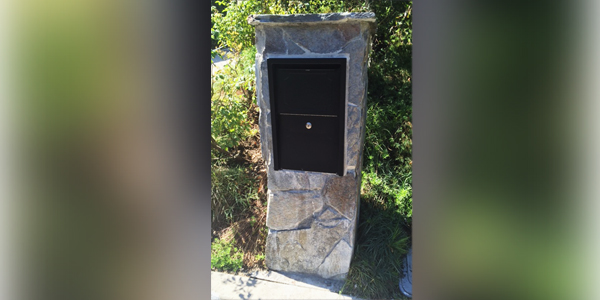
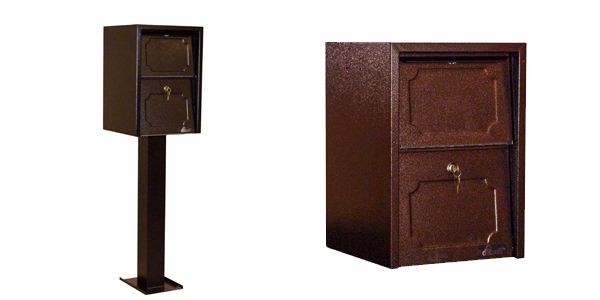
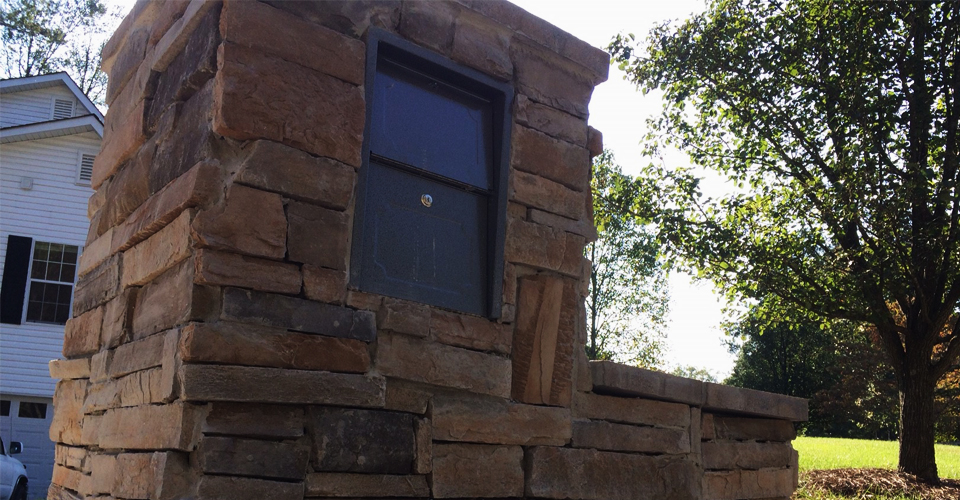
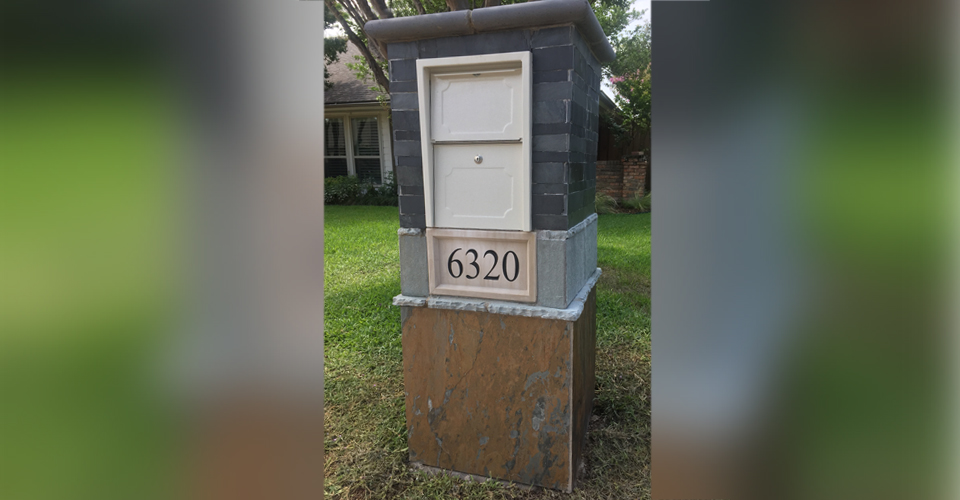
Choose from black, white, gray, sand and copper vein. See more full examples and installations examples below.


Optional Posts Designed For the Weekend Away Vault
- Top Mount / Above Ground Post = DVJR0060PA
- Top Mount / In Ground Post = DVJR0060PI
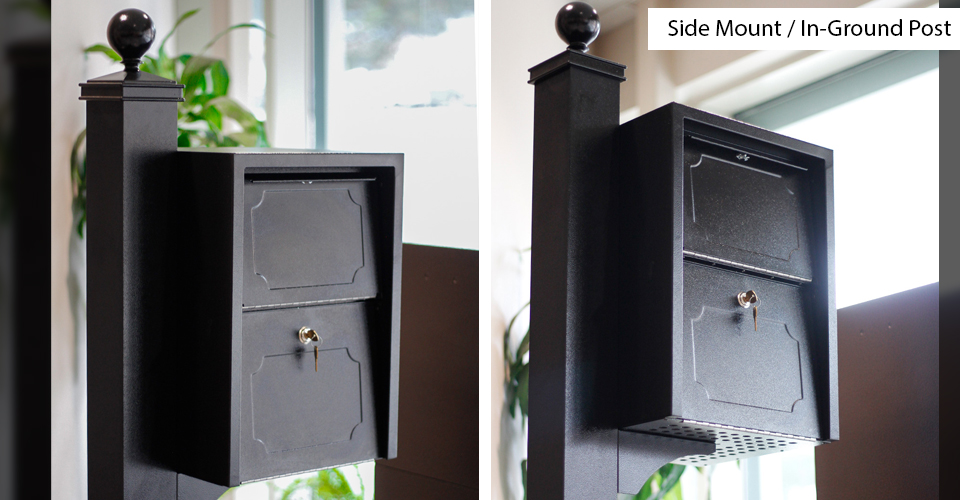
- Side Mount / In Ground Post = DVJR0060SMPI
All Posts Are Sold Separately
Product Specifications
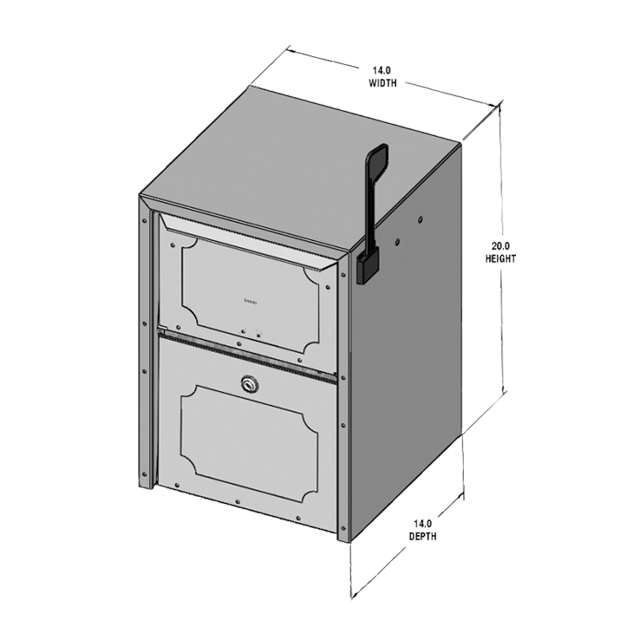
- Dimensions—14” W x 20” H x 14” D
- Weight—32.25 Lbs.
- Capacity—Medium
- Maximum Package Size Dimensions: 10.75″ W x 3.5″ H x 11.25″ D
dVault units may be purchased through one of our certified online sellers listed here. All units are processed through our facility in Colorado Springs, CO within two days and will typically arrive at your location between 5-7 business days. If you have any questions at all, please don't hesitate to contact us and a team member will be happy to help.
FREQUENTLY ASKED QUESTIONS
Do you have a catalog?
dVault has made the environmentally responsible decision not to print paper catalogs. Instead, the company provides detailed product information on dvault.com. This decision helps the environment and reduces costs to all.How are units shipped?
Smaller locking mailboxes (Mail Protector Vault, Weekend Away Vault, Parcel Protector Vault, Package Drop Vault and Package Drop Vault Plus) ship via Fed Ex Ground. Larger units (Package Service Delivery Vault, Secure Collection Unit, Full Service Curbside Delivery Vault) ship on small pallets via Fed Ex Freight.When are units shipped?
Most locking mailboxes are shipped within two business days of order receipt.Advice on finding someone to install a dVault product:
Ask your contractor or handyman. Installation services are also available at The Home Depot or Lowe’s.Are replacement parts available?
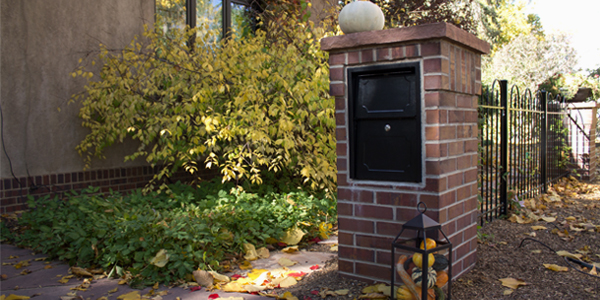
Yes. All dVault units feature replacement parts. Please contact dVault Customer Service. Can I cover dVault mailboxes with regular brick, stucco or other materials? Yes, however you must properly prepare all surfaces. Thin brick, stone and other materials may be used allowing your dVault unit to blend into architectural and landscaping themes. Ask your home improvement contractor for specific recommendations. Importantly, do NOT cover the secure-Drop Door with any materials. Doing so will undermine the operation and sealing of the door. Note: Any damage caused by veneeringing or enclosing the unit, or from applying excess pressure to the sides, top, doors, or door mechanisms of the unit will void the warranty on the unit.WEEKEND AWAY VAULT DVJR0060 INSTALLATION INSTRUCTIONS
SIDE MOUNT POST SYSTEMS
Tools and/or Materials Required (not provided):- Shovel or posthole digger
- Concrete mix and gravel (optional)
- Level,
- ½ inch open/box end wrench or socket set.
- Note: Fastening hardware is included. Other tools/materials/hardware may also be necessary depending upon actual installation.
- General Installation Requirements: Customers are required to contact the local Post Office before installing the mailbox to insure its correct placement and height at the street. Generally, mailboxes are installed at a height of 41–45" from the road surface to inside floor of the mailbox or point of mail entry (locked designs) and are set back 6–8" from front face of curb or road edge to the mailbox door.
- Dig a hole for the in-ground mailbox post. Hole should be approximately 6” in diameter and 24-28” deep. Use level to straighten pole, back fill hole and tamp dirt as needed (Note: “Quick Crete” or concrete may also be used – installations at highways edge require separate instructions).
- Periodically check the vertical alignment of the post when back filling or as the concrete is curing.
- When back fill tamping is complete, or concrete is cured, you are now ready to mount the mailbox to the side mount post system – See Side Mount Mailbox Mounting Instructions (below)
- Locate and place mailbox on its side.
- Locate the knock outs on the side that will face the post and knock out the holes as shown in Figure 1.
- Rotate mailbox and place it on its side.Locate the knock outs that will face the post bracket and knock out the holes as shown in Figure 2.
- Install under-unit support bracket to post using two of the provided 5/16" – 18 hex bolts and lock washers. Tighten as needed
- Locate mailbox keys and open access door in the fully open position.
- Place and align the mailbox on the post bracket over the bottom set of holes as shown below, and install two of the provided 5/16" – 18 hex bolts and lock washers through the bottom knockouts of the unit into the threaded holes of the previously installed under-unit support bracket. Tighten as needed.
- Install two final 5/16" – 18 hex bolts and lock washers through the side of the mailbox using the side knockouts that were previously removed. Tighten as needed.
- Note: Damage caused by incorrectly veneering or installing the unit will void the unit’s warranty. Please see our full warranty policy for additional details.
TOP-MOUNT POST SYSTEMS
Tools and/or Materials Required (not provided):- Shovel or posthole digger
- Concrete mix and gravel (Above Ground Post Systems)
- Level, screwdriver, ½ inch open/box end wrench or socket set
- 4 J-shaped anchor bolts, lock washer and nuts (Above Ground Post Systems).
- Other tools/materials may also be necessary depending upon actual installation.
- General Installation Requirements: Customers are required to contact the local Post Office before installing the mailbox to insure its correct placement and height at the street. Generally, mailboxes are installed at a height of 41–45 inches from the road surface to inside floor of the mailbox or point of mail entry (locked designs) and are set back 6 – 8 inches from front face of curb or road edge to the mailbox door.
- Align top plate and mailbox to post- There are four 5/16″-18 C hex head bolts and washers provided with the post to attach the mailbox and top plate to the post. Open key-locked access door and install four 5/16″-18 C hex head bolts with washers through the floor of the mailbox, top plate and into the fixed machine nuts in the post, and tighten as needed. Above Ground Installation, Skip down to Step #4
- Dig a hole for the in-ground mailbox post. Hole should be approximately 6″ in diameter and 16–17″ deep. Use level to straighten pole, back fill hole and tamp dirt as needed.
- Above ground mailbox post and concrete footing. You will need approximately 4 cu ft. The top surface of the footing should be about 12″ by 12″ and extend 20″ into the ground. The bottom of the hole for the concrete footing should be filled with about 4″ of gravel for drainage under the post.
- See number 2 above for fastening instructions.
- Attach the 4 J-shaped anchor bolts to the base of the post with 4 nuts under and 4 nuts over the bottom mounting plate. Pour the concrete into the hole with a stick while filling to reduce any air pockets. Press the anchor bolts on the bottom of the post into the concrete until the bottom plate is resting on the top surface of the wet concrete. Use a level on the sides of the post to ensure that the post is aligned vertically. Periodically check the vertical alignment of the post as the concrete is curing.